Patchwork and Quilting
How To Make A Patchwork Quilt
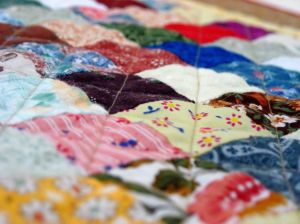
The words patchwork and quilting conjure up in many people's minds colorful blocks and different patches made from old clothes that were gathered and sewn together in large shapes, such as rectangular blankets. Pieced patchwork is much more interesting, yet with interesting shapes come additional complications. Patchwork and quilts that are pieced are made from scraps or strips, regularly shaped then sewn together in a block to create the initial patch. The pieces are manually sewn together or by a sewing machine, to simplify the job. While machine stitching is done more carefully and exactly, traditional stitching done manually is considered to be more related to the art.
You must ensure you have an accurate template to rely on, because the patchwork and quilting will be done according to this template and that pieces will have to be evenly shaped, so that when pieced together, they match. These templates for patterns can either be purchased or created .
To make your own cardboard template, just copy the design on the paper and cut the paper with scissors. Glue the template on cardboard, while including a seam allowance. You can then use the template and cut it; first, protect it with varnish or polish to avoid fraying. It is best to make templates for each new pattern you are working on.
To utilize plastic templates, put the plastic over and mark along the plastic the shape of it. Afterwards, draw the seam allowance around the shape and cut it.
After the template has been created, put it to the fabric, align it according to the edge, while having the grain on the fabric. Draw its shape with a pencil or a tailor's chalk. Patches can be created by folding several materials together and folding them in the middle. Connect the template with the layers through a stapler and then cut the pieces, using rotary cutters or cutting mats.
If you have utilized back up papers for support in quilting, you may now put them on.
To connect the patches together, use different pairs of patches simultaneously with the design. Moreover, once you have the patches accordingly, piece them. Place them straight so that you can begin pinning them. Pin the corners first and then start with small whipstitches; the needle has to be placed in a corner and then move on to the other. The pins must be removed as the work advances.
If you choose to piece the patchwork by machine, you need to use several patches with the flag method. This means pinning the patches in pairs and then stitching them in a fixed position with seam allowances serving as guides. You could also leave some space out.
After you have joined the parts, assembly them in one piece. Press the patch in order to give it an even look and to avoid the bulk. You should not leave the pieces not pressed.
Once the patchwork is completed, you need to lay it aside and work on the batting and backing fabrics. If you want to deal with straight, quilting lines then use a machine and quilting foot to facilitate your work. To ensure nothing changes its even aspect, use pins to hold everything together and carefully stitch.
More on Patchwork and Quilting


